On Sunday Simon found a Bare Conductive electric paint set in his shoe. Sinterklaas knows exactly what Simon wants! Today we tried cold soldering for the first time! The project involved building a paper house that would gradually light up as it gets darker in the room.
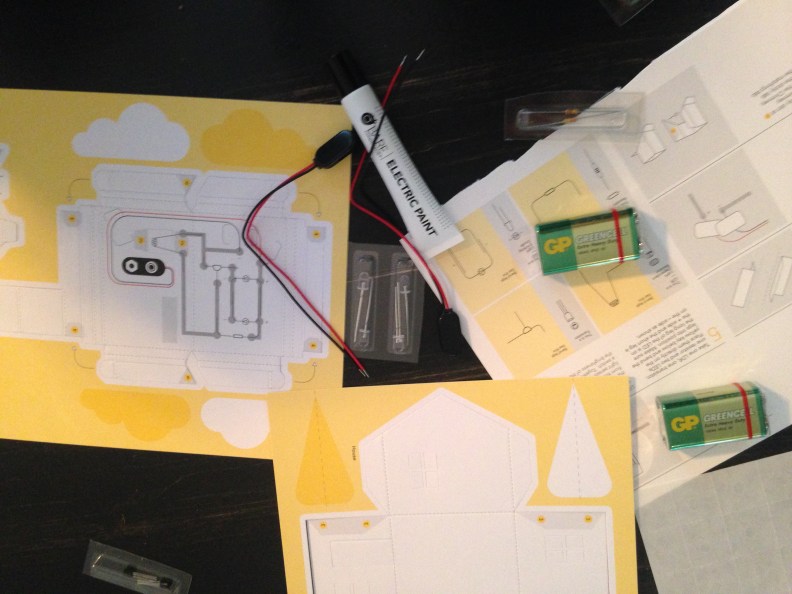

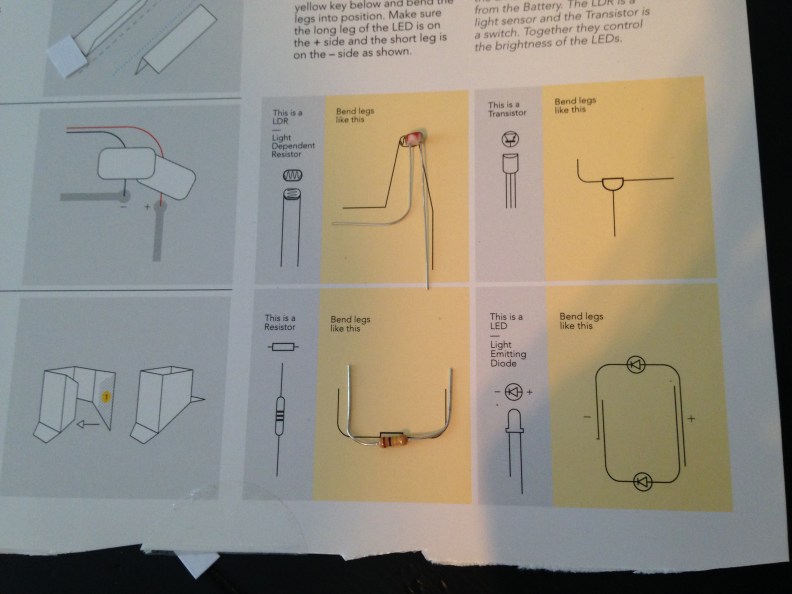
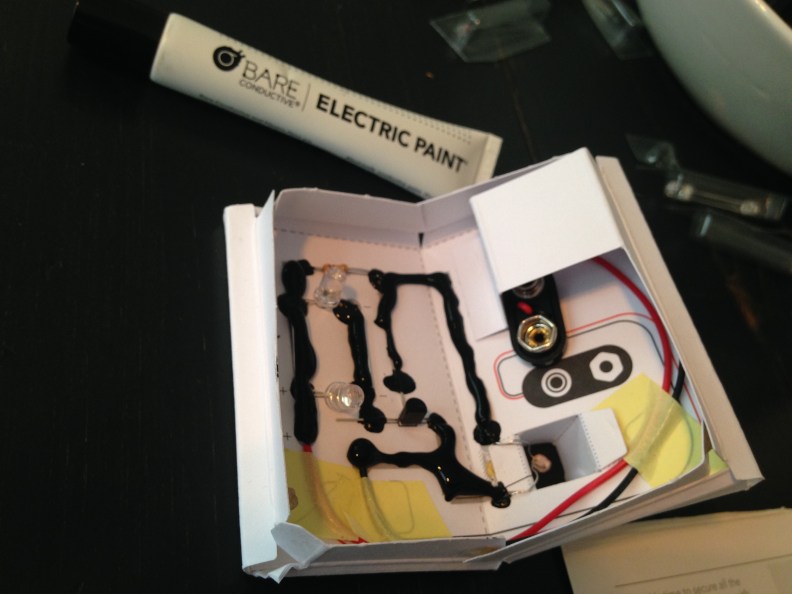
Besides the light sensor (or a Light Dependent Resistor), the circle also incorporated a transistor, a resistor and two LEDs.
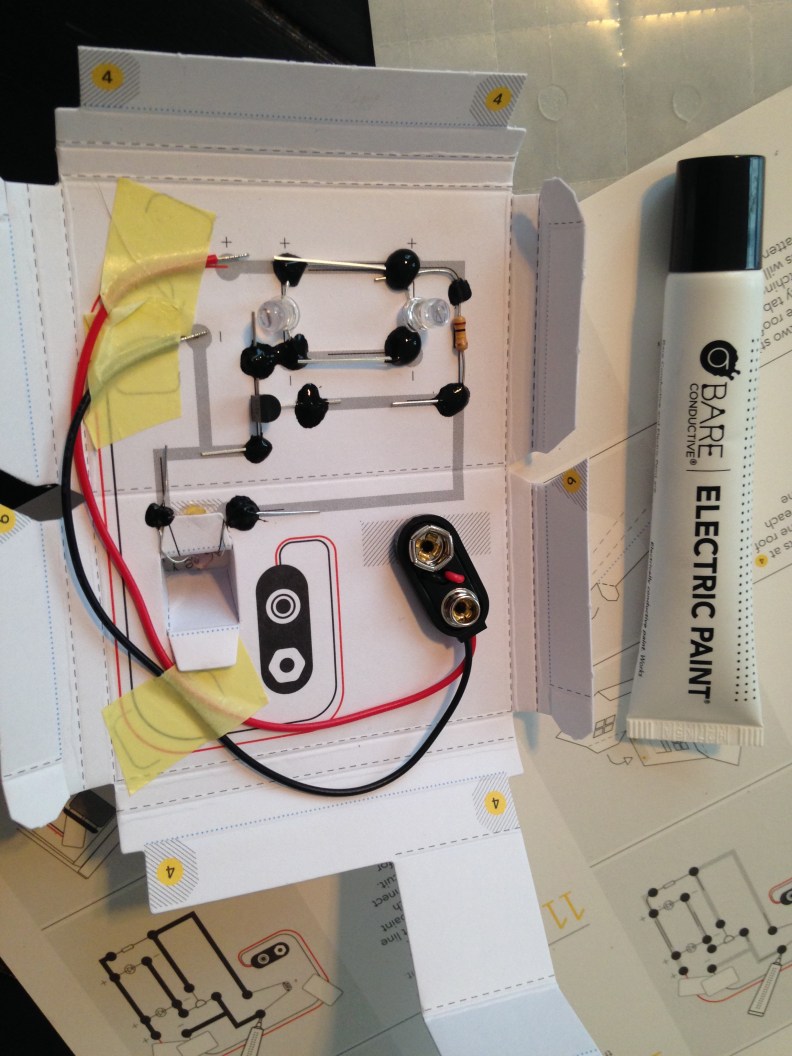
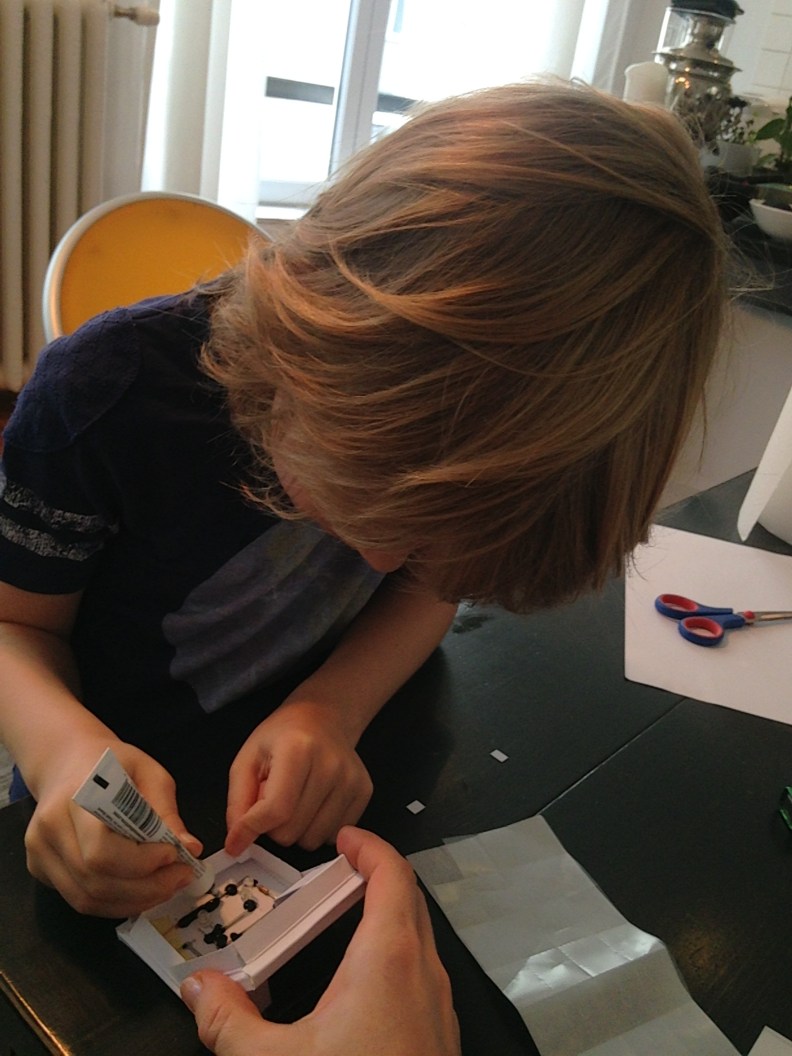
It was quite difficult to keep all the components in place while the electric paint was still wet.
The waiting was enduring.
Tried blowing on the paint to make it dry:
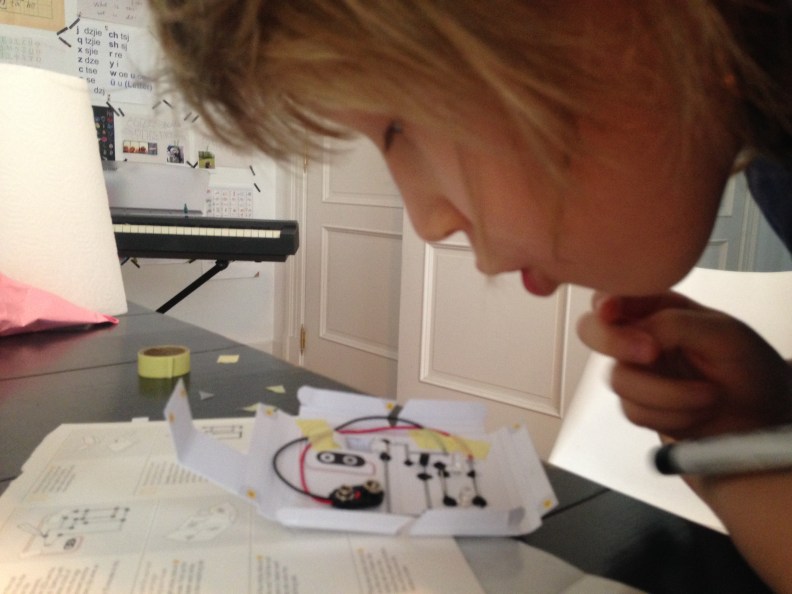
Finally, the fun part: drawing the circuit:
The roof of the house on the inside:
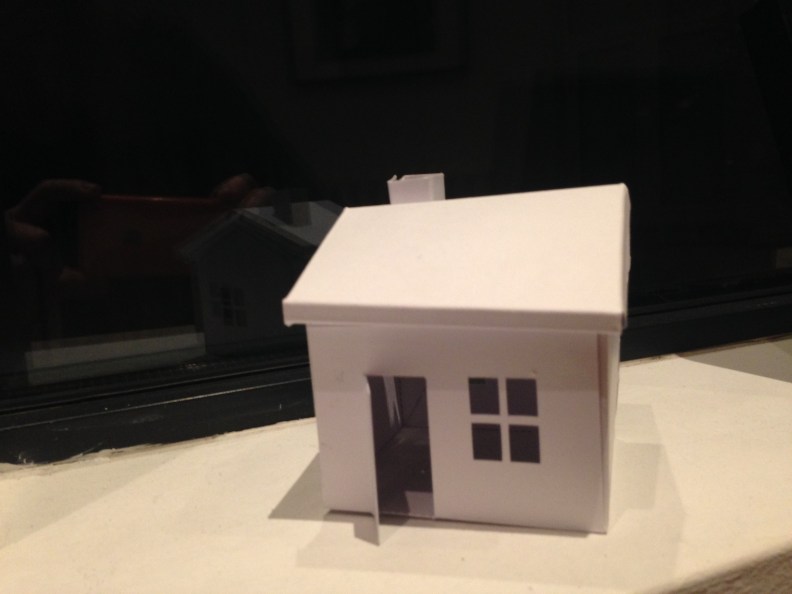
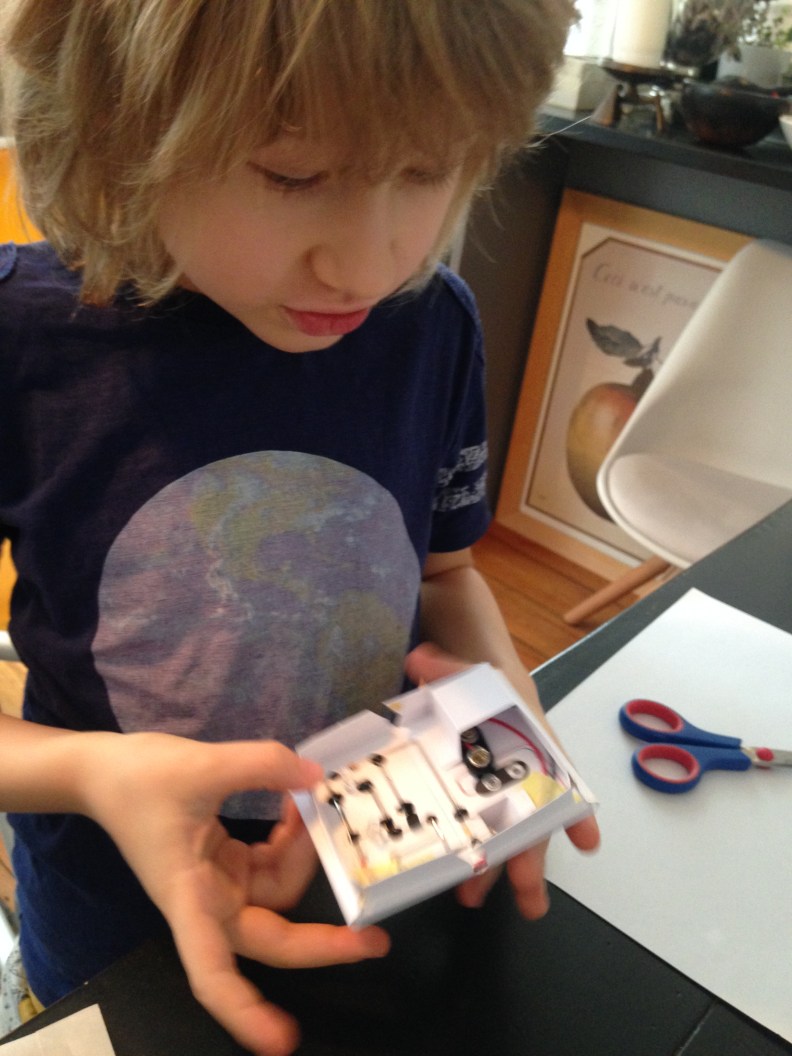
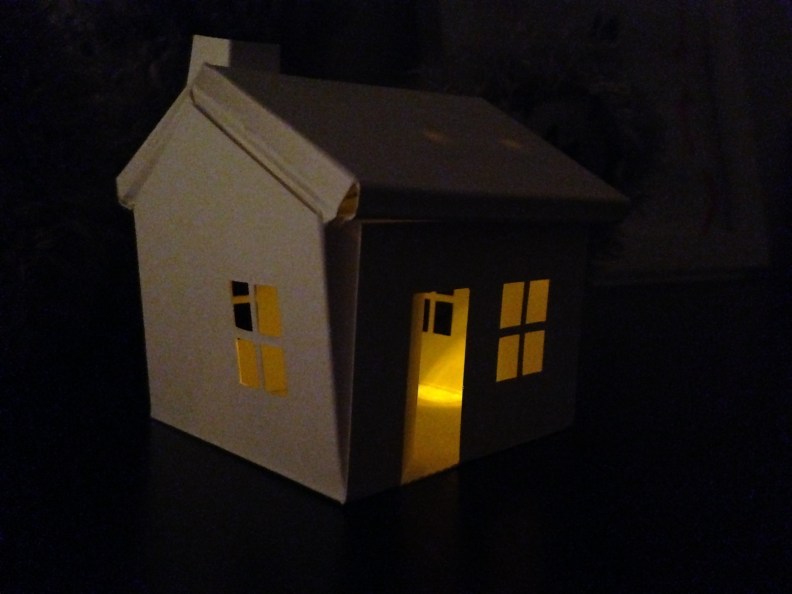
Simon loved the effect of the gradual lighting up – when first placed in a dark room we saw almost no light but when we came back a couple hours later the house looked magical. Simon cuddled with it, took the roof off and reviewed the circuit again and again, and put the house next to his bed when falling asleep. I think we’d want to crawl inside of it if he could.

One Reply to “Cold soldering with Bare Conductive electric paint”